
Introduction
Creating your own jewelry box can be a fun and rewarding DIY project. Not only does it allow you to showcase your creativity, but it also provides a practical solution for organizing and storing your precious jewelry collection. In this article, we will explore various DIY jewelry box ideas and provide step-by-step instructions to help you create your very own personalized jewelry box.
Materials Needed
:max_bytes(150000):strip_icc()/ana-white-jewelry-58f8e0195f9b581d59710b64.jpg)
To get started with your DIY jewelry box project, you will need a few basic materials. These include:
- Wooden box or container
- Paint or varnish
- Decorative paper or fabric
- Adhesive
- Scissors
- Foam or velvet lining
- Hinges and latch (optional)
- Decorative knobs or handles (optional)
Step 1: Choosing a Box
:max_bytes(150000):strip_icc()/instruct-jewelry-58f8e0543df78ca15979cc6f.jpg)
The first step in creating your DIY jewelry box is to choose a suitable box or container. You can repurpose an old wooden box or purchase a new one from a craft store. Make sure the box is sturdy and has enough space to accommodate your jewelry collection.
Step 2: Preparing the Box
Before you start decorating your jewelry box, it's important to prepare the surface. Clean the box thoroughly and sand any rough edges or surfaces. This will ensure a smooth and even finish when you apply paint or varnish.
Step 3: Decorating the Exterior

Now comes the fun part - decorating the exterior of your jewelry box! You can choose to paint the box in your favorite color or use decorative paper or fabric to cover it. Apply adhesive to the surface and carefully attach the chosen material, smoothing out any wrinkles or bubbles.
Step 4: Lining the Interior

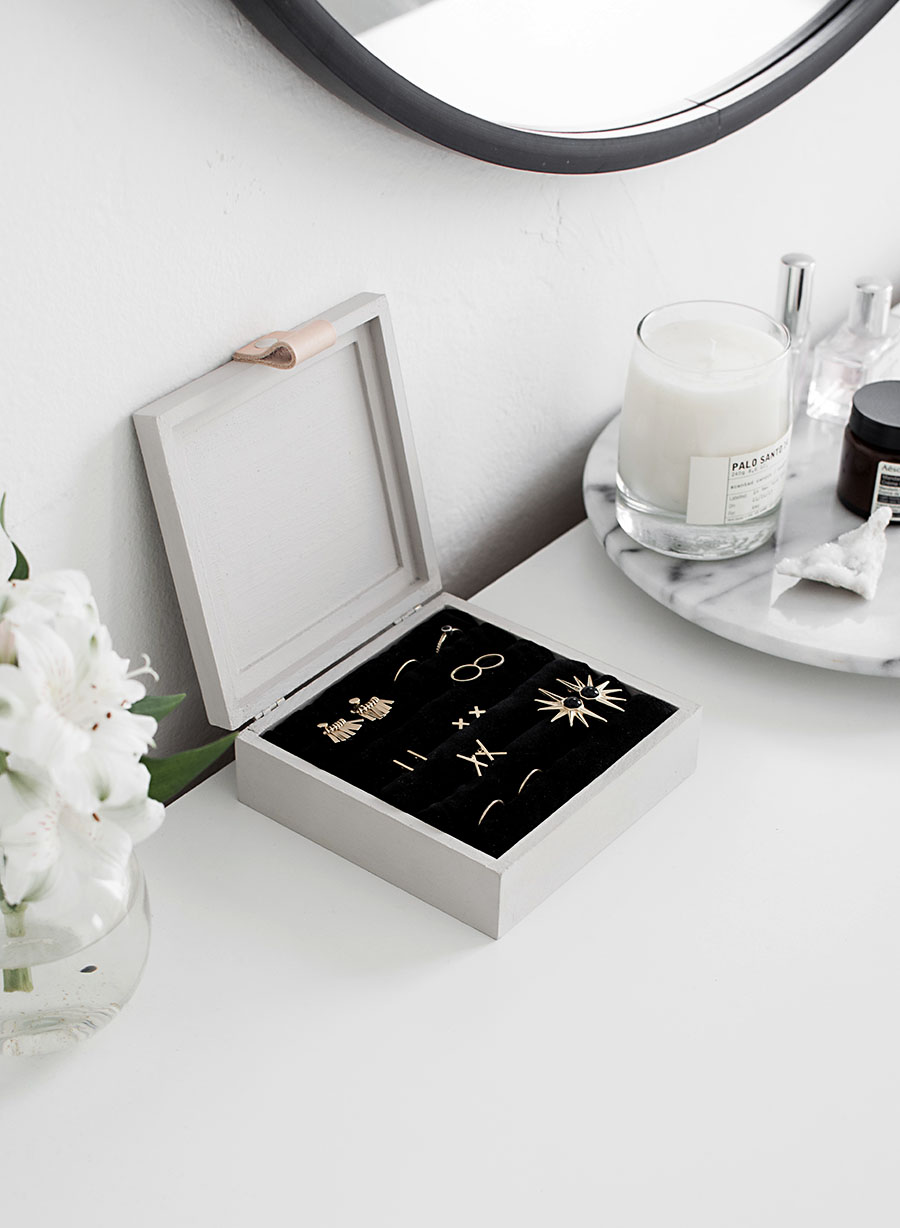
To protect your jewelry and add a touch of elegance, it's essential to line the interior of your jewelry box. You can use foam or velvet lining, which is available in various colors and thicknesses. Measure and cut the lining material to fit the bottom and sides of the box, then attach it using adhesive.
Step 5: Adding Compartments
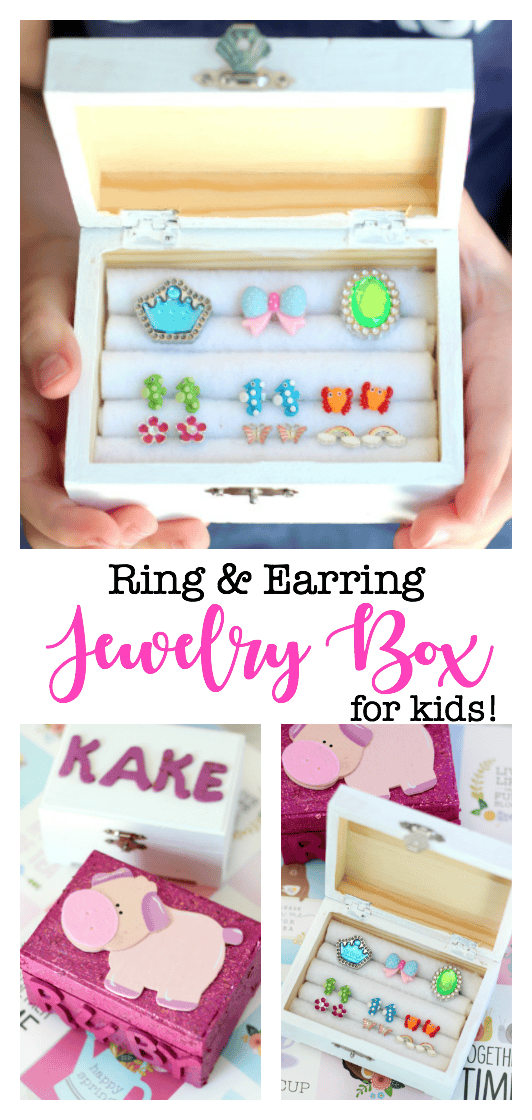
If you have different types of jewelry, such as earrings, necklaces, and rings, it's helpful to add compartments to your jewelry box. You can use small wooden dividers or create custom compartments using foam or velvet. Arrange the compartments inside the box according to your preferences.
Step 6: Finishing Touches

To complete your DIY jewelry box, consider adding some finishing touches. You can attach decorative knobs or handles to the exterior for easy opening and closing. Additionally, you may choose to add hinges and a latch for added security.
Conclusion
Creating your own jewelry box is a fantastic way to showcase your creativity and keep your precious jewelry organized. By following these step-by-step instructions, you can design and customize a unique jewelry box that reflects your personal style. Start your DIY jewelry box project today and enjoy the satisfaction of crafting a beautiful and functional storage solution for your jewelry collection.
