Introduction
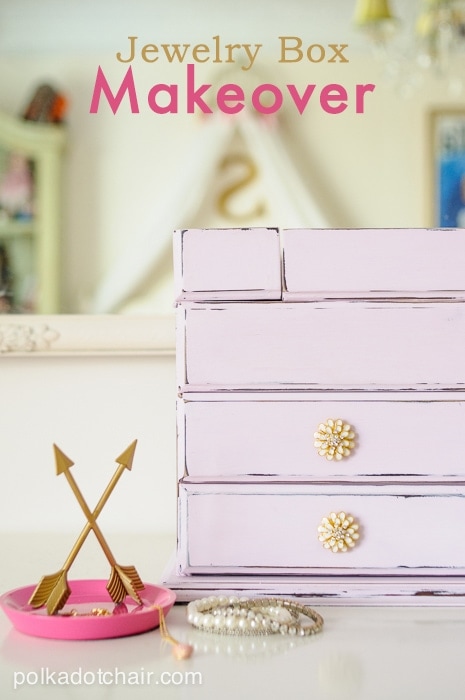
Do you have an old, worn-out jewelry box that needs a fresh look? A jewelry box makeover can be a fun and creative project that not only revitalizes your old box but also adds a touch of personal style to it. In this article, we will explore various ideas and techniques to transform your jewelry box into a stunning piece that reflects your taste and personality.
Gather Your Supplies

Before you begin your jewelry box makeover, make sure you have all the necessary supplies. These may include sandpaper, primer, paint or spray paint, decorative paper or fabric, scissors, glue, brushes, and varnish. Having everything at hand will help you complete the project smoothly without any interruptions.
Clean and Prep the Surface

Start by cleaning the surface of your jewelry box thoroughly. Remove any dust, dirt, or old paint using a damp cloth or sandpaper. Once the surface is clean and dry, apply a layer of primer to ensure better adhesion of the paint or decorative material you will be using.
Choose a Paint or Decorative Material
The next step in your jewelry box makeover is to decide whether you want to paint it or use decorative paper or fabric for a unique look. If you choose to paint, select a color that complements your room decor or matches your personal style. Alternatively, you can opt for decorative paper or fabric with patterns or textures that speak to your taste.
Apply Paint or Decorative Material
Once you have made your choice, carefully apply the paint or decorative material to the jewelry box. If you are painting, use a brush or spray paint for a smooth and even finish. For decorative paper or fabric, cut it to fit each side of the box and use glue to adhere it securely. Take your time and ensure that the application is neat and precise.
Add Embellishments

To give your jewelry box a personalized touch, consider adding embellishments such as beads, rhinestones, or ribbons. These small details can enhance the overall appearance and make your box truly unique. Use glue to attach the embellishments securely and let them dry before proceeding to the next step.
Protect with Varnish

To ensure the longevity of your jewelry box makeover, apply a coat of varnish or sealant. This will protect the paint or decorative material from scratches and wear over time. Choose a varnish that is suitable for the surface you have used and apply it evenly using a brush. Allow the varnish to dry completely before handling the box.
Organize and Display Your Jewelry
Now that your jewelry box makeover is complete, it's time to organize and display your jewelry in an aesthetically pleasing way. Use the various compartments and sections of the box to categorize your jewelry and keep them tangle-free. Consider adding small trays or dividers to maximize storage space and make it easier to find specific pieces when needed.
Conclusion
A jewelry box makeover is an excellent way to breathe new life into an old and worn-out box. With a little creativity and some basic supplies, you can transform your jewelry box into a beautiful and personalized piece that reflects your style. Whether you choose to paint it or use decorative materials, don't forget to protect your creation with a coat of varnish. Enjoy the process and showcase your jewelry collection in a stunning and organized way!