A Practical Guide to Creating Your Own Jewelry Organizer
Are you tired of your jewelry getting tangled or misplaced? Creating your own jewelry organizer can help you keep all your precious pieces neat and organized. Not only will it save you time in the morning when you're getting ready, but it will also ensure that your jewelry remains in pristine condition. In this article, we will provide you with step-by-step instructions on how to create your own DIY jewelry organizer.
Gather Your Materials

The first step in creating your DIY jewelry organizer is gathering all the necessary materials. You will need a corkboard or pegboard, fabric of your choice, a staple gun, scissors, adhesive hooks, and small containers or trays to hold your jewelry. You can easily find these materials at your local craft store or online.
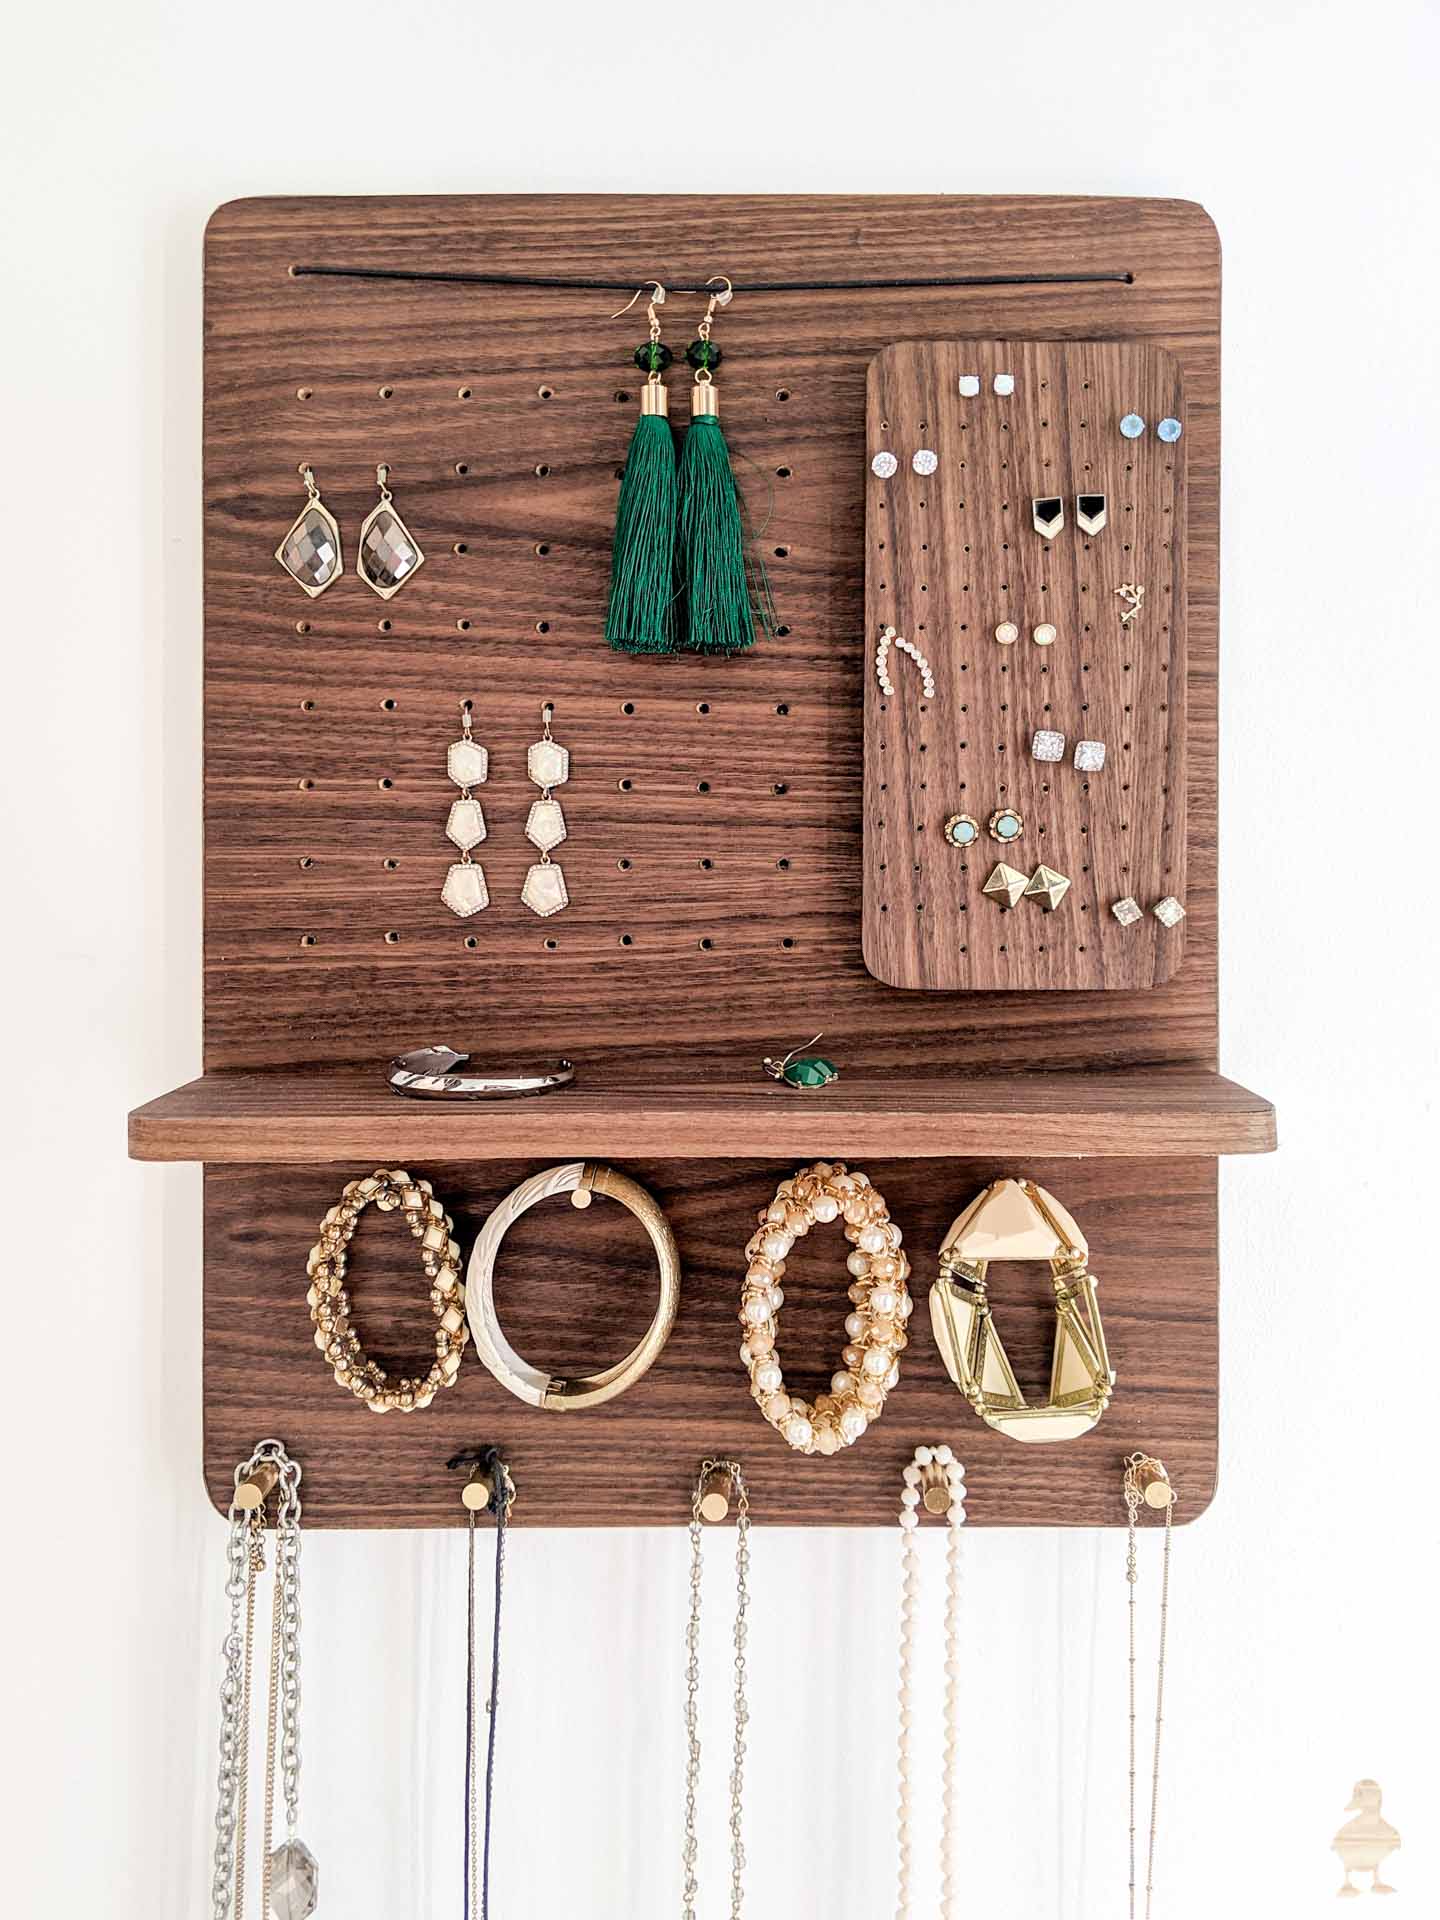
Prepare the Corkboard or Pegboard

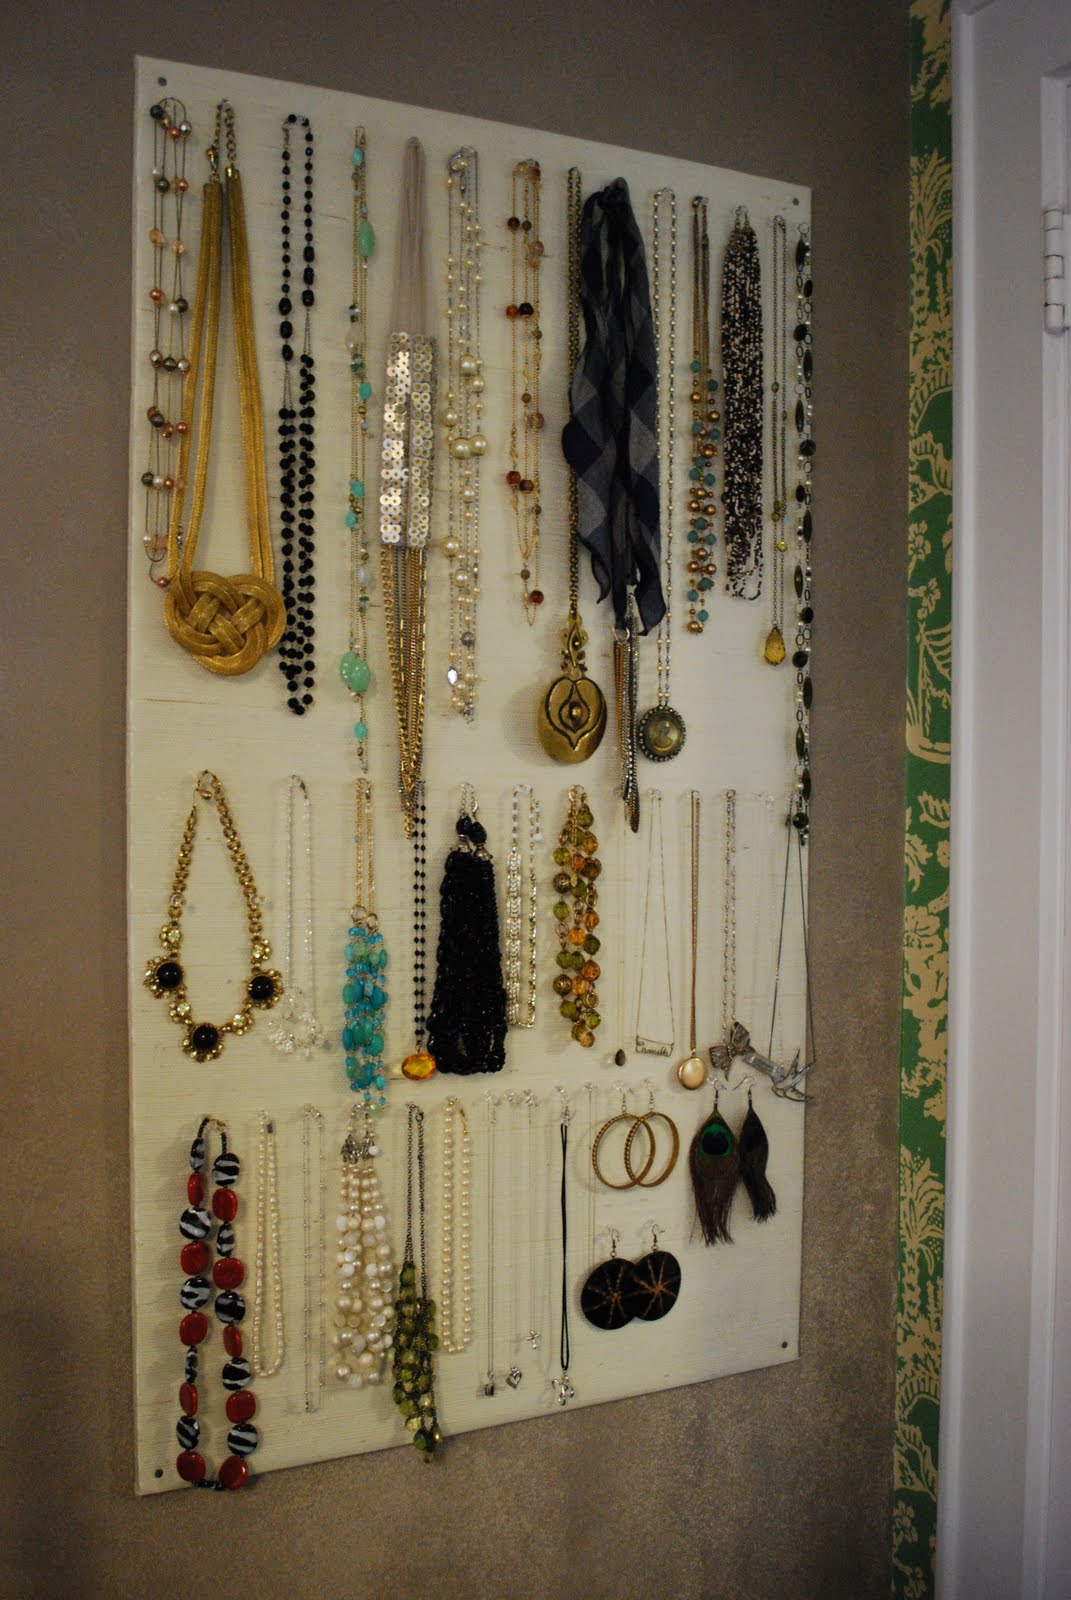
If you're using a corkboard, start by measuring and cutting your fabric to the size of the board. Lay the fabric flat on a table and place the corkboard on top. Wrap the fabric around the board, pulling it taut, and secure it with a staple gun. Trim any excess fabric. If you're using a pegboard, skip the fabric step and move on to the next one.
Add Hooks and Containers
Now it's time to add the hooks and containers to your jewelry organizer. Determine where you want your hooks to go and mark the spots with a pencil. Use a drill to create small holes in the marked spots and screw in the hooks. For the containers, you can use small trays or repurpose old ice cube trays. Attach them to the board using adhesive or small nails.
Organize Your Jewelry

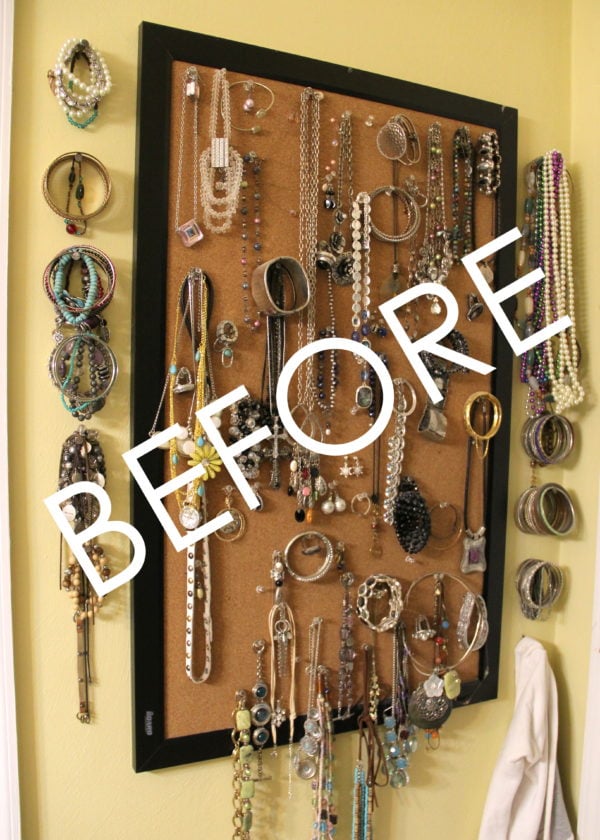
Once your DIY jewelry organizer is ready, it's time to start organizing your jewelry. Hang necklaces and bracelets on the hooks, making sure they don't overlap. Use the containers to store earrings, rings, and other small pieces. You can also use small pins or thumbtacks to hang lightweight earrings directly on the corkboard or pegboard.
Keep It Clean and Tidy

Maintaining the cleanliness and tidiness of your jewelry organizer is essential to ensure its longevity and functionality. Regularly dust off your organizer using a soft cloth or brush. Avoid using harsh chemicals or abrasive materials that could damage your jewelry or the organizer itself. Additionally, make it a habit to put your jewelry back in its designated spot after each use.
Personalize Your Organizer
Don't be afraid to personalize your jewelry organizer and make it unique to your style. Consider adding decorative elements such as ribbons, stickers, or paint to enhance its visual appeal. You can also attach inspirational quotes or photos that inspire you. Let your creativity shine through and make your jewelry organizer a reflection of your personality.
Conclusion
Creating your own jewelry organizer is a fun and practical way to keep your jewelry organized and easily accessible. By following the steps outlined in this article, you'll be able to create a personalized organizer that suits your needs and style. Remember to regularly clean and maintain your organizer to ensure its longevity. Enjoy your newfound organization and never worry about tangled jewelry again!
